Now that you have created a Journey Template, it’s time to add Steps. Steps are created around the content you want candidates to receive throughout their journey.
Adding a Step
Step 1: Starting in the Journeys section, click Edit next to the Template you want to work on.
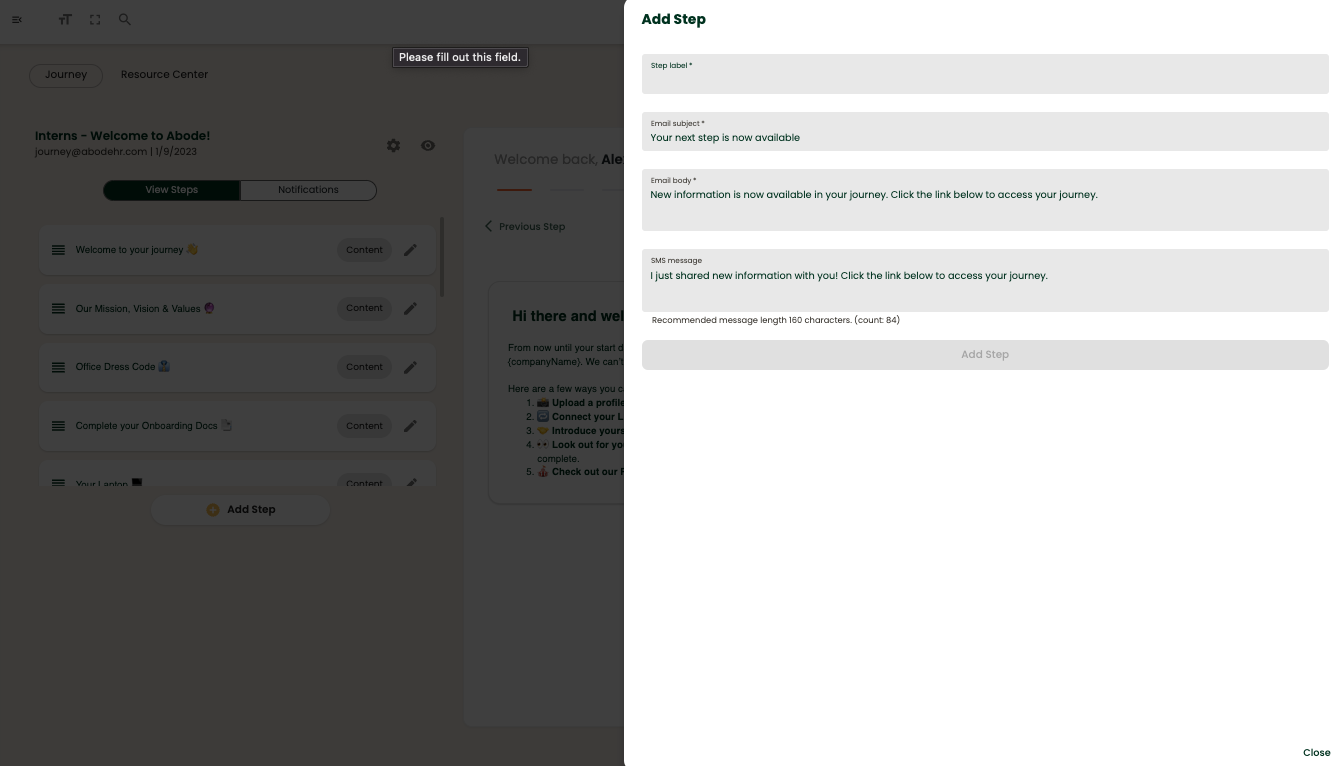
Step 2: On the left hand side of your screen, click Add Step
Step 3: In the pop out window, complete or Edit the information within the fields on the Step pop out:
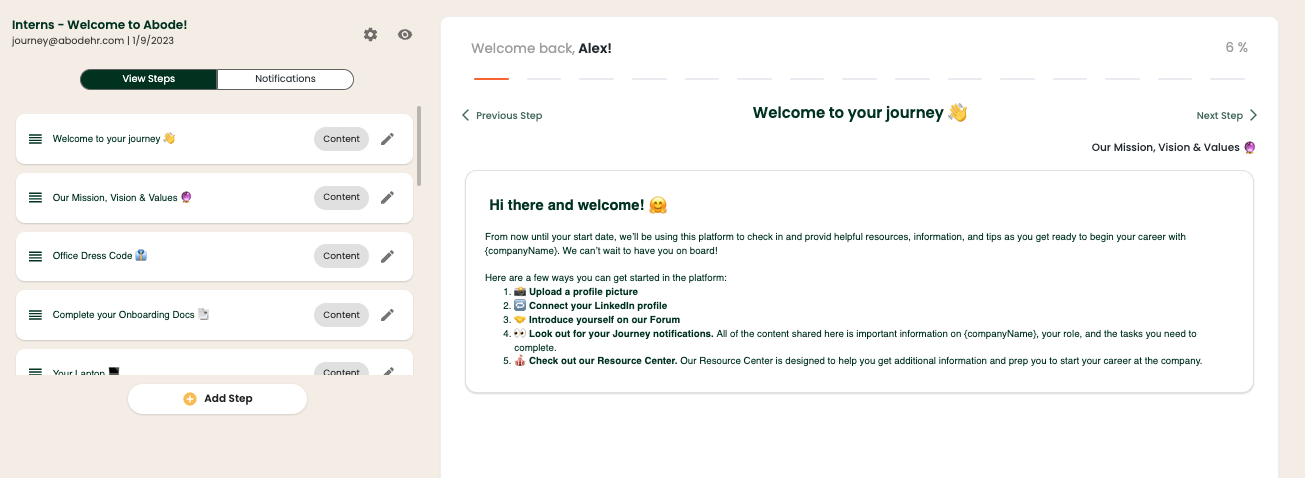
Step Label: This field will be visible to Recipients at all times during their Journey.
Delay Mode: Complete the following based on the Delay Mode you selected when you created your Template.
-
- Fixed Date: Click the date under Step Date to select the calendar day you want this Step to go live on
- Custom Delay: Input the delay period you want to set for this Step. As a reminder, all delays are calculated from Day 0 when a Recipient is enrolled.
- End Date: The End Date is selected on the main Template Edit screen in the top right corner.
Notification Copy: Standard copy will populate for the below fields. Feel free to use it or make it your own!
- Email Subject
- Email Body
- SMS Message
Step 4: Once you have completed the above, click Add Step
You’ve successfully added a Step! Repeat this process as needed to build out your Template.
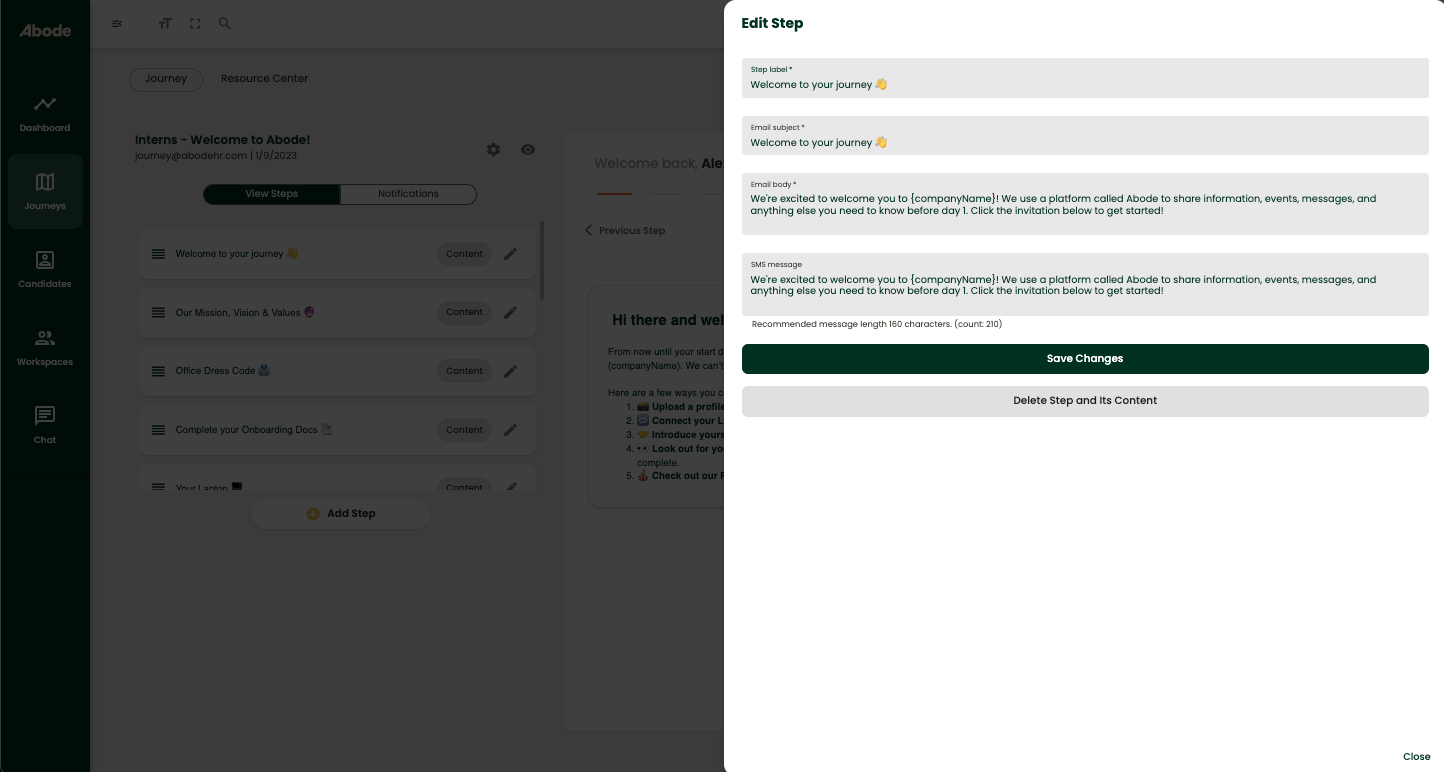
Editing a Step
To edit any Step fields later on, or to delete a Step, simply click the pencil icon located to the right of the Step.

Once your your edits are complete, make sure to click Save Changes
To delete a Step, simply click Delete Step and its Content